








DIY
Mushrooms made of clay
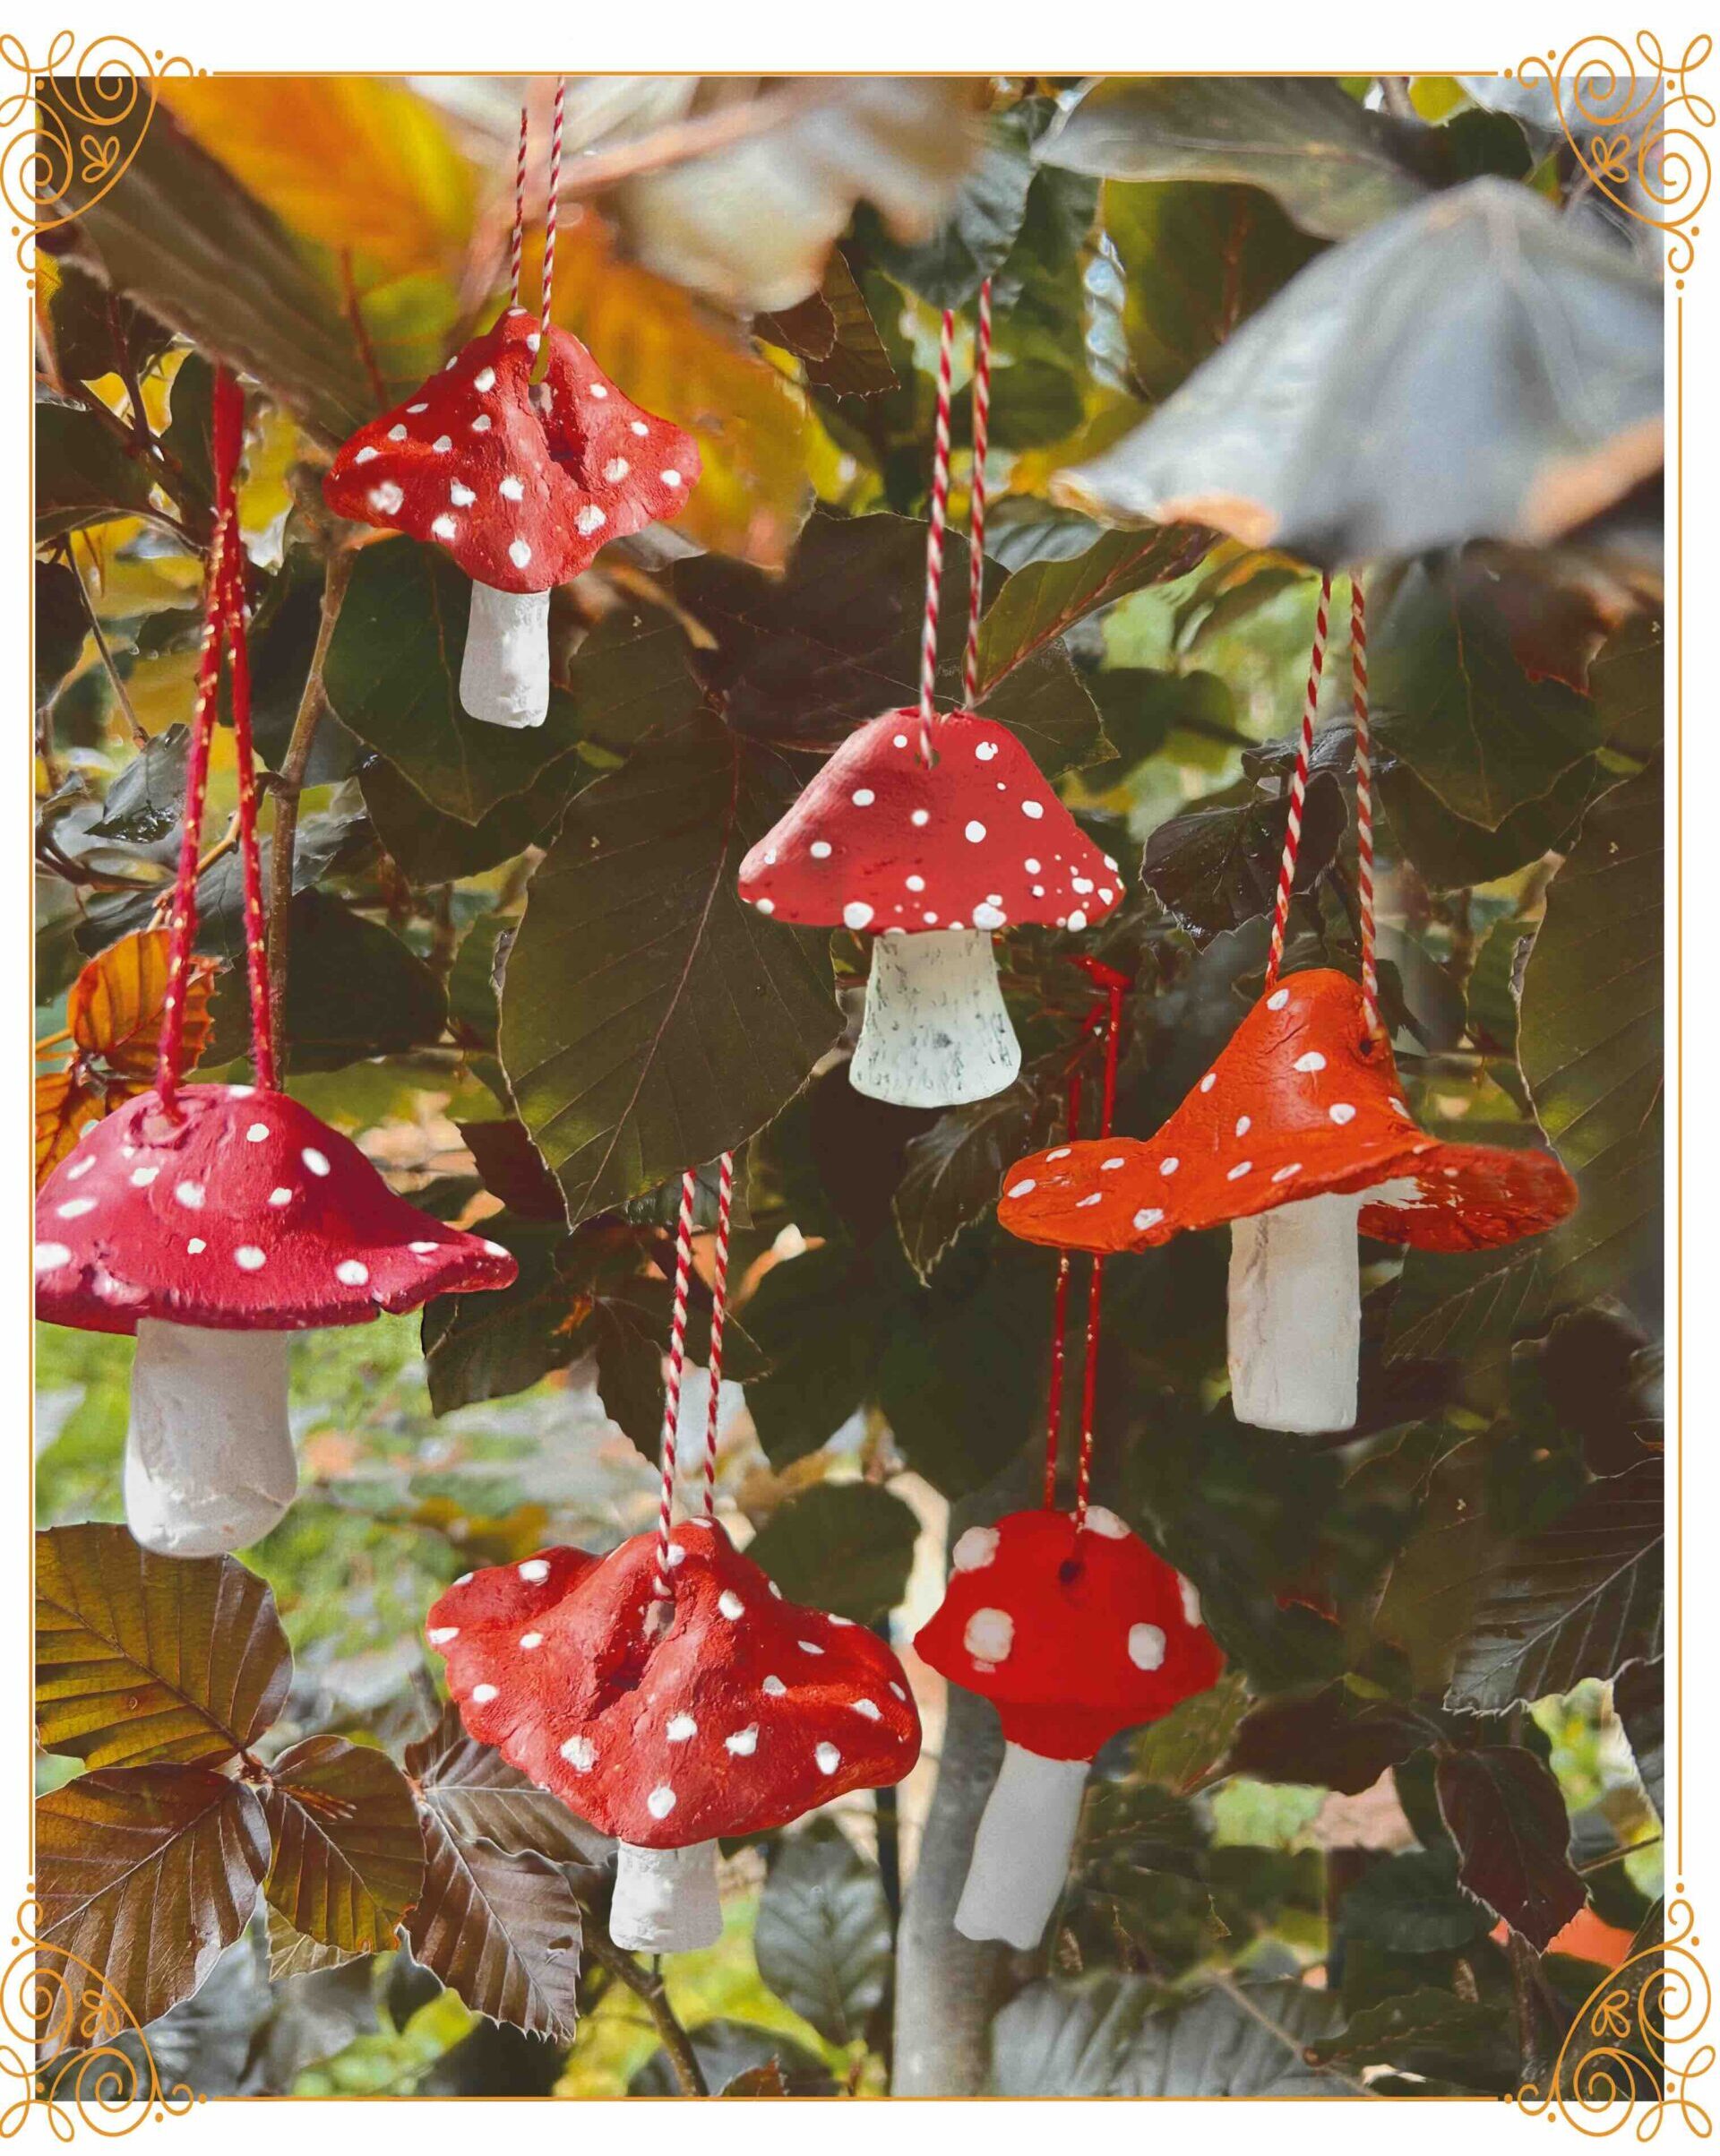
I made these mushrooms yesterday afternoon with Anne. It was really fun!
We each made three mushrooms. We did make a bit of a mess while painting, but we’re happy with the result.
Here’s what you’ll need:
– modeling clay
– potato peeler
– paint
– paintbrushes
– string
– scissors
– an oven (if desired)
Here’s how to make them
Knead the clay until it’s warm and soft, so you can easily shape it.

Start by shaping the mushroom cap. Roll out a stem and attach it using a little water.

Use the tip of a paintbrush to make a small hole in the top of the mushroom.

Let the clay dry. You can let it air dry, or you can dry it in the oven: 15 minutes at 180 °C.
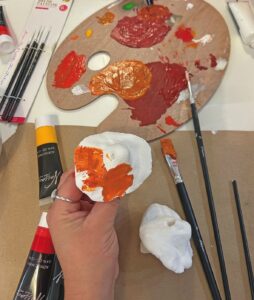
Once the clay is dry, you can paint the mushrooms.
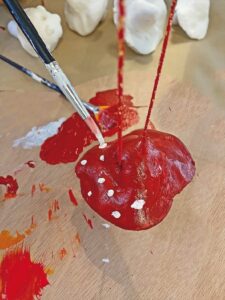
Once the paint is dry, thread a piece of string through the hole and hang them up somewhere.
Try stepping away from the usual red with white polka dots—that’s what you’d normally expect. But why not paint the hats blue, for example, with an ochre-yellow stem and little stars instead of
dots? You’ll see that it turns out surprisingly beautiful. Creativity is often a matter of daring to try. Just go for it!
Have fun crafting!
Love, Daphne